How to create a Graphics instance from my existing graphic templates
First, we should get the graphics template from the customer to load into the platform. Once loaded, the template will be available on the left panel in the Graphics tab.
Any template can be used many times to create multiple graphic versions.
The second stage will be to schedule the graphics.
Let's review graphics creation by choosing one of those templates.
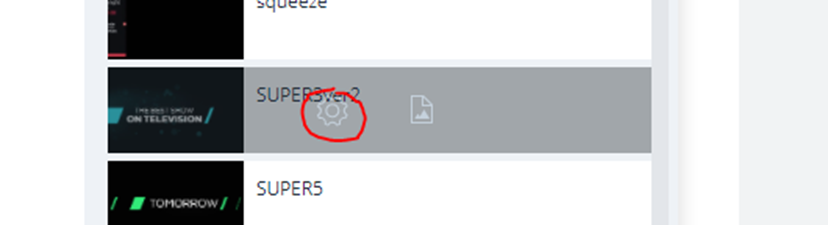
Once the graphic template is uploaded and visible, hover over it with the mouse and click the icon![]() to open the Edit Graphics Section.
to open the Edit Graphics Section.
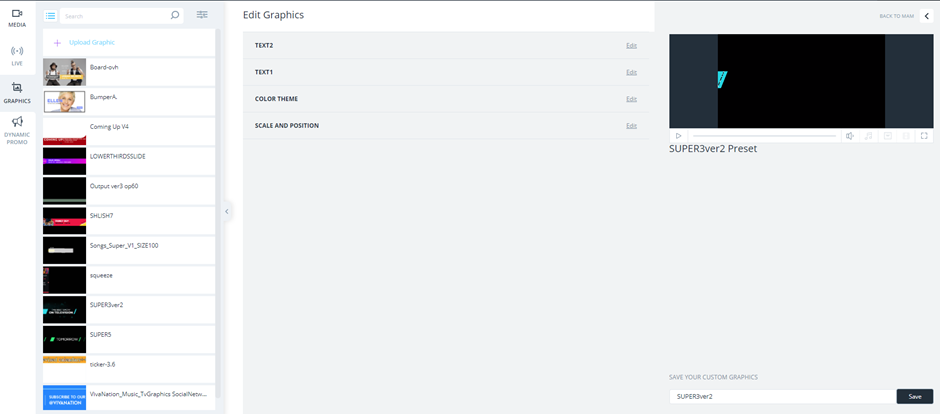
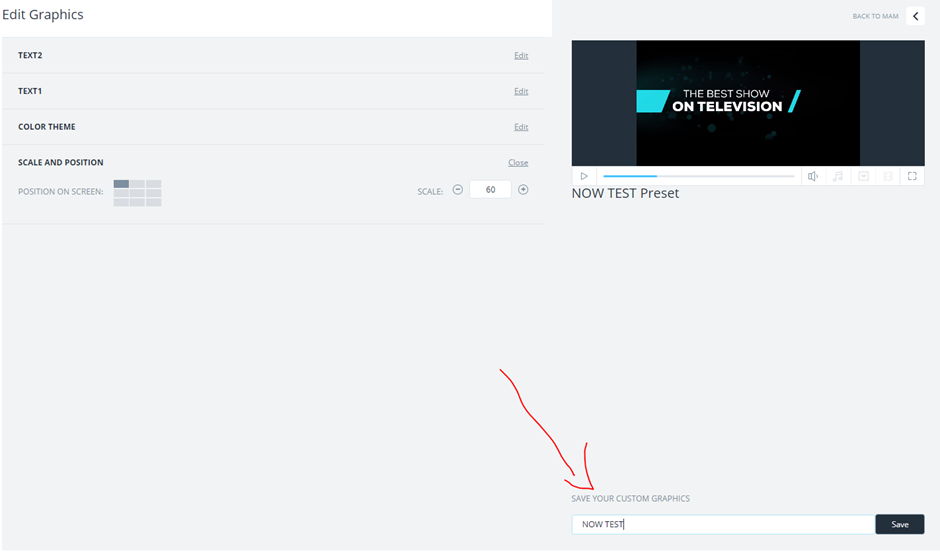
On the right side, the player will show us a preview of the graphic. In this example, we can see two text lines and their color.

Back to editing "TEXT2", we will write "NOW" for example.

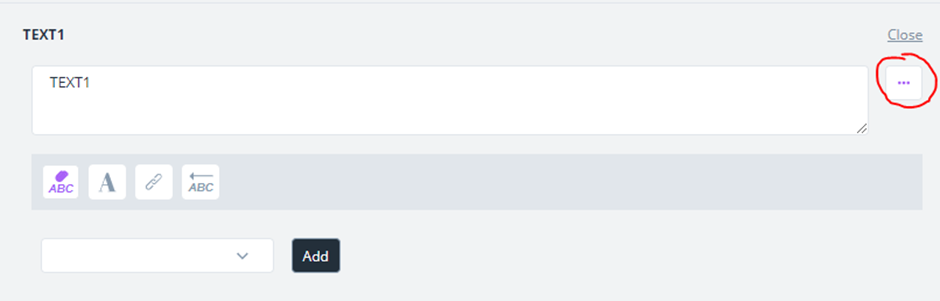
For editing "text one" let me show you how to take information automatically from the metadata of the content.
Click on those three dots on the right, choosing "ABC icon", and choose from where to fetch the information.
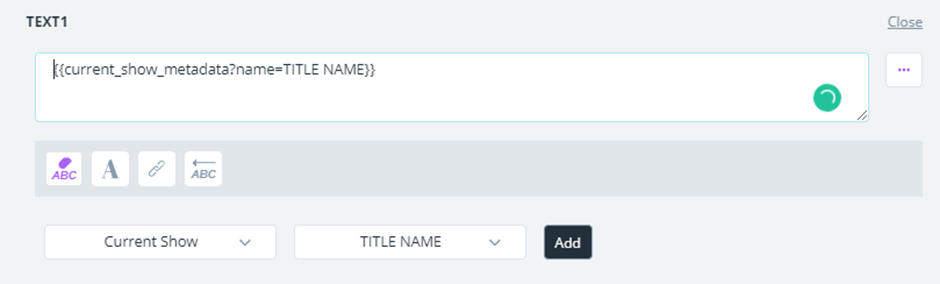
For relevant graphics for the title "Now", we will choose "current show",
relevant metadata field where the info will be "title name".
Press "Add" and the pattern will be added to the text box.
More options are changing the font, changing the color and alignment of the text in the graphic.
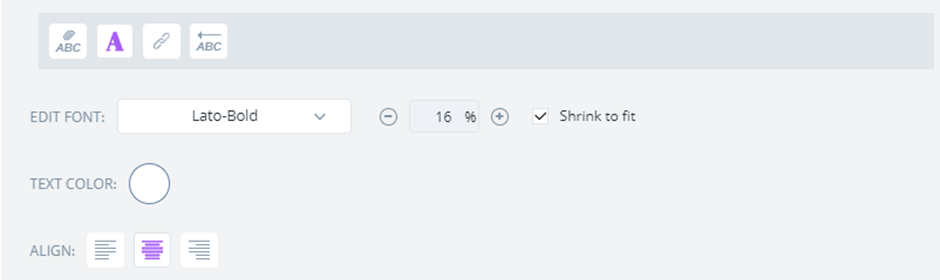
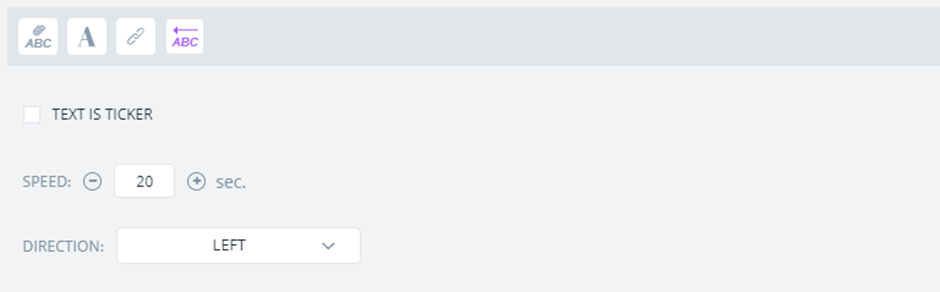
It is possible to use the text as a ticker in case we have a long text and we want it to scroll over the graphics.
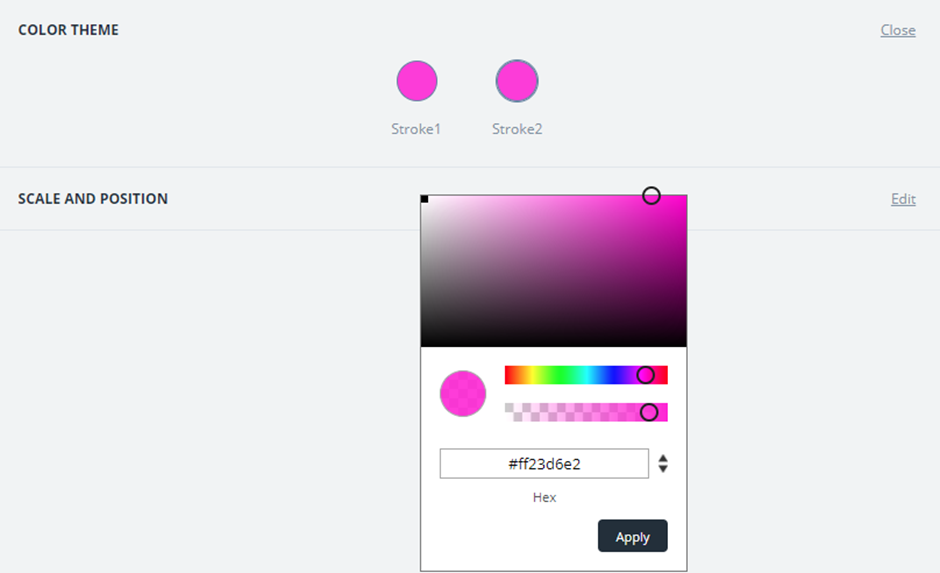
On the “Color Theme” we can change the color with a specific number or from the color palette.
On the “Scale and Position” We can scale and position the graphic item, for example on the upper left side of the screen, and set it to a specific scale, for example, 60 percentage.

Lastly, there’s an option to add a media file (image, video, GIF etc.) to the graphic file.
Click Media to reveal the Media Section.
In general, there are three ways to add media to a graphic file:
- Selecting a file from the computer
- Setting the system to automatically take the Packshot or Preview from the Current, Next or Next Next Show

To add a file from the computer simply drag and drop it on the Add Media sign.
If you want the graphic file to take either the Preview or Packshot from the Current, Next, or Next Next Show, click the icon while hovering over the Add Media sign and select the desired setting.
Whether you’re using a file from your computer, a URL, or extracting a Preview / Packshot from a certain Show, fit the file to your liking by clicking on the drop-down menu next to Fit Media. You can either:
- Select Ignore Aspect if you wish to keep the file in its original aspect-ratio.
- Select Letterbox if your file has a 16:9 aspect ratio (this will fit it to 4:3).
- Select Stretch To Cover if you want the file to cover as much as possible.
Make sure to give the graphic a meaningful name and save it before you exit.
Once we have created the graphics instance, it is ready for scheduling.
We can view instances in the graphic tab when hovering on the template. We will click the "instances" icon to see all versions.
If you wish to save another Instance of the same Graphics file (i.e the same file with minor changes in text), change the name of the file to your liking and click Save. This will generate another Instance of the same Graphics file.
To view different instances of the same Graphics file, hover over the Graphics file with the mouse (in the MAM) and click the ![]() icon. Now, select your desired Graphics file Instance from the expanded list.
icon. Now, select your desired Graphics file Instance from the expanded list.
